Mastering the art of jump throwing was a game-changer in CS:GO. Now, with Counter-Strike 2 (CS2), it remains just as vital for those spot-on grenade throws. For competitive players aiming for perfect nade throws, knowing how to set up a jump throw bind is non-negotiable. Without it, you're likely missing those essential Smokes and Molotovs.
Setting Up a Jump Throw Bind in Counter-Strike 2
In CS2, crafting a jump throw bind is straightforward. Here’s a step-by-step guide to get you set:
-
Dive into your game files and find the CS:GO config folder. Typically, it’s located at:
\\steamapps\common\Counter-Strike Global Offensive\game\csgo\cfg\ -
Duplicate any existing config file within that folder, then rename this new file to "jumpthrow".
-
Clear out the text in this config file and plug in the following commands:
- +jump
- -attack
- -attack2
- -jump
4. Once you've saved your adjustments, fire up CS2.
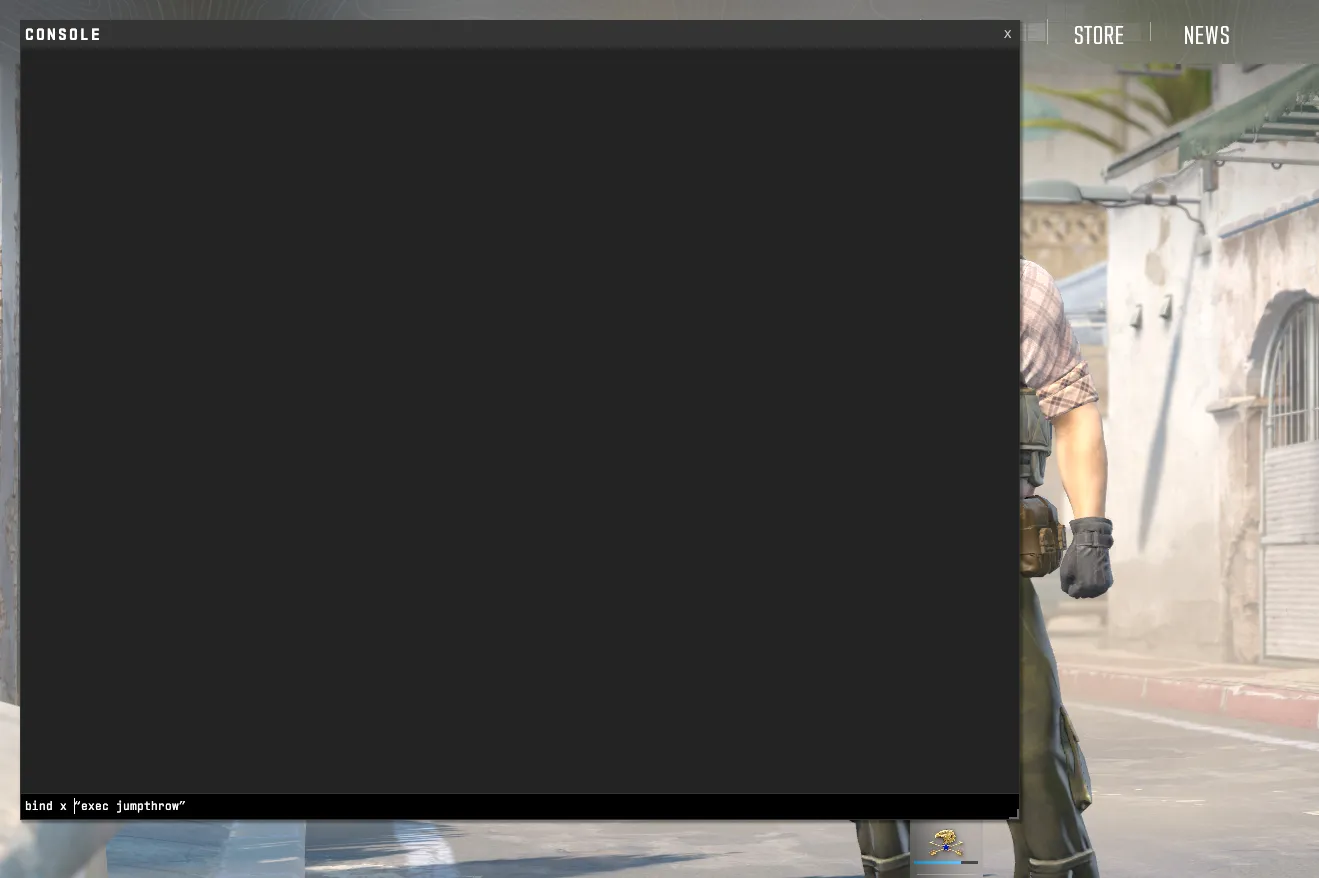
Access the developer console in CS2 and bind your new config to your preferred key. For instance:
bind x "exec jumpthrow"
Remember how CS:GO let you craft 'alias' binds, executing two commands with a single key press? CS2 allows this too. But there's a catch – these binds reset each game session. So, for lasting results, go with the config method detailed above. It’s simpler and sticks around for the long haul.